Tuesday, June 28, 2011

How "Tues"day Tip #3

Today's project is one that can take anywhere from a week to several months to complete.  It is based on the concept of bottle cap art.  So the first thing that I had to do was start collecting lids.  For about the past six months I have collected every cap, lid, and container top that we have used in the Perry house.  

We go through a lot of apple juice, bottled water, and gatorade so it didn't take long for them to accumulate!  Most of the plastic within the bottle containers can be easily recycled, however, the lids are a different story.  This project is another great way to "go green."

I also used a piece of wood from Home Depot.  They have all kinds of scrap wood, and most of the time it's either very inexpensive or free (especially if you tell them you're a teacher)!

I used two small paint samples that we had lying around the house.  We're also in the process of completing renovations in our dining room (chair rail installation, painting, and new flooring-soon)!

I painted one a turquoise color (deepest aqua).

The other one is called rich navy.


Christian helped me out by sorting all of the caps by color...he had so much fun!

Then I selected the images for the paintings.  The first one is a crab.  

My very very very talented brother in law began painting, and I was so impressed!


Here are the final touches!

I added the orange bottle cap lids and made a letter "c" with some yellow caps.  You can either use some small screws and a drill or some basic wood glue.  I used a drill because I like the effect of the metal in the middle of the caps.

 
The next painting is an octopus.


  I added two bottle caps for the eyes, and some additional clear ones for bubbles!
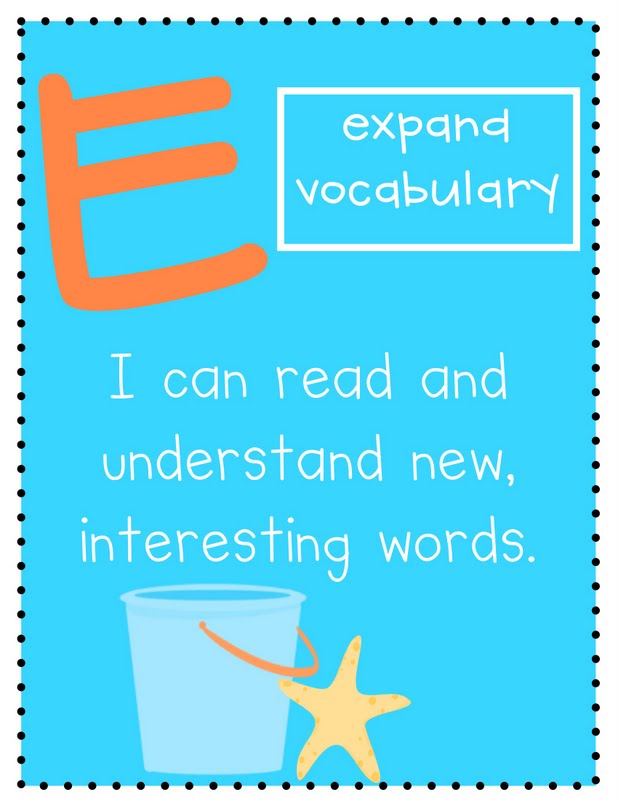
"C" is for crab.

"O" is for octopus.

I have one more to add to the collection which will either be a sea turtle or a seahorse.  I loved this project!  If you're in the DFW metroplex, and you're interested in some bottle cap art for your classroom, e-mail me.  My brother in law does a phenomenal job, and he completed both of those paintings in one evening.  I just added the caps and the words.  The inspiration from these paintings came from two resources.  


This year I plan to have my students collect bottle caps to create their own art for our classroom and school.  I also plan to use the handprint art to make our classroom a more inviting and engaging place!

Friday, June 24, 2011

Fab Finds. . .

This week's fab finds are from Target (that Dollar Spot is SO addictive-their marketing directors are definitely keeping teachers in mind) and Lakeshore (which I absolutely LOVE since there's one less than a mile away from Mr. Perry's job).  It's kind of a blessing and a curse at the same time)!

I usually keep most of my plans, assessment data, and important info in digital form, but these are so cute-I'll find some way to use them for planning and note keeping!

 
I got a class set of these dry erase boards-perfect for penmanship practice and writing along while we complete shared and interactive writing activities.  They're two sided, lined, and only $1!  

The Dollar Spot has all kinds of stickers, awards, and bookmarks right now!

These number and alphabet puzzles caught my eye because my three year old loves puzzles!  I grabbed some for him and some for the classroom. 

I fell in love with these cute little cards...how perfect for teaching action words (verbs) and animal characteristics! We do two huge units on animal research so these will be fun for the kids to use as they write their reports. 

This is a giant pocket chart from Lakeshore.  It's a word ladder!  I know I could probably make something similar, but this one was so so cute!  It's made by Educational Insights.  It's $29.99, but I had a coupon for $5.00 of a purchase of $25.00 or more so I think it was well worth it.  The pocket chart set includes 40 different word ladders in picture form and the letter cards to build the words. 

This will be such a phenomenal phonemic awareness activity for readers who have difficulty segmenting, blending, and hearing sounds.  I really like how it provides a place for the picture, letters, and writing.  Later this summer I'm hoping to make some more versions of this type of activity for my Promethean board.  I would love to practice them on the Promethean board in a whole group setting then allow students to use the pocket chart as a word work activity during Daily 5. 

That's it for this week...did you find any great deals?  If so, let me know!

Thursday, June 23, 2011

Organization Freebies

If you use student "binders" or "folders" for parent communication, homework, and school reminders, here's a cover that you can use.  My school uses binders, and each student brings one as part of their school supplies.  In the past I have also used the plastic folders.  The regular folders just go through so much with little ones that they rarely last for the entire year.  I love using binders because I can organize them with classroom rules/behavior expectations, word wall words/language arts information, monthly homework calendars, updates, graded papers, notes to parents, etc.  

The cover that is shown in the first picture is something that I'm thinking about trying for this year (the student's name and picture).  During "meet the teacher night," one of the things on each student's "to-do list" is have a picture taken at the "photo station."  Usually one of my family members or a parent volunteer assists with this.  I'm hoping to get the pictures on as many binders as possible on the next day which is a work day.  If I have to do a few on the first day of school it should be manageable. The only draw back is the extra ink that is used.  Normally I just print the pages in advance then add a label with each student's name on it, but I would like to try it out.  One of my classroom jobs is a "binder passer" so I think this would be especially helpful at the beginning of the school year to save time and help students learn each other's names.  

There is a huge list of acronyms that can be used with all kinds of themes here.  It has all kinds of mascots and cute sayings.  Last year I had a "dot binder" because I had the "polka dot on black" pattern in my classroom.  The binder was called "Daily Organized Tasks." I didn't take any pictures of them, but I wish I had.  They turned out very cute, and my students did a great job of taking care of their binders and returning them each day.  

If a student purchases a binder that doesn't have a clear pocket in front, I just add a sheet protector at the front of the binder.  I prefer to have the clear cover in front, but this is another option.  Also when I used plastic folders, I placed several sheet protectors inside for various items (notes, homework, school forms/notes...).  The front sheet protector had the decorated page on it with the acronym. I have made a few covers:  beach, jungle, and ant.  I'll probably make a few more so please let me know if there's one that you'd love to have!  You can click on each picture to download the covers. 


Wednesday, June 22, 2011

Thank you!

 800+ followers. . .who would have thought?!?  Thank you so much!

Here is the first of several freebies that I've been working on. . .the others will be posted soon!

If you use Daily 5/CAFE-you can use these for mini-lessons or bulletin boards.


I'm also working on the word cards that you can post under each category.  
Click here to grab the signs!

I'm a "mac"

About two months ago, Mr. Perry got me a MacBook Pro.  He got it for a really really good deal, and it was practically brand new (only 4 months old)!  At first I didn't appreciate it because I wasn't too familiar with them.  The last time I'd used a mac was my sophomore year in college when I worked at the Dean of Student's Office (the year will remain unmentioned).  After using it for the last couple of months, I can truly say that I absolutely LOVE it!

Today as I sit in a quiet, uneventful home (mother's day out) I am working on a few summer/back to school projects, and I appreciate the macbook more and more!

Next month when I'm at CAMT, I get to use my iphone as a remote for the MacBook.  One of my favorite apps links the phone and MacBook.  It's great because it serves as a hand held remote (with cheat sheet notes that the audience doesn't see)!

Yesterday I also got a wireless keyboard and trackpad...so excited to test them out!


I made a brochure for this year's "meet the teacher/back to school" night.  It has a daily schedule, contact information, a short note for the students, and a quick list of action items for them to do.  When they complete all of the items on the list, they'll get a chance to choose a prize from the treasure box (really trying to connect the ocean/beach theme here)!


This is the first slide of my presentation for CAMT. . . hoping to wrap it up next week!
  I have learned to love Keynote!


Tuesday, June 21, 2011

at the beach all year long. . .

This year my first graders will be at the beach all year long! 
I have had SO much fun shopping for "beach" stuff this summer.  Here's what I've collected so far. . .
a giant beach ball to hang over the reading loft/classroom library. . .

mini-beach balls. . .

mini-sand castles for each table "number". . .

supply trays (with glue, scissors, erasers, crayons) for each table. . .

watering cans for pencils. . .

a wall hanger for my keys. . .

alphabet rug-I know this has nothing to do with the beach, but I LOVE the bright colors and wanted to make sure I have a clearly defined space for my "word work" area. 

Here's what I'm adding. . .

new chair pockets. . . I want to get ride of my red/blue traditional pockets, and they're in great shape-let me know if you're interested!
Store MoreĀ® Deluxe Chair Pocket - Early Childhood  - Teal
I'll also be adding a new reading loft with lots of bright colors!  

And of course a palm tree. . .the room wouldn't be complete without it!

Hopefully the entire room will be ready by the first week of August-I'll post lots of pics!
 
Site Design By Designer Blogs
Blogging tips